

Log in
Go to https://
jupyter -health .2i2c .cloud and click Log in to continue. 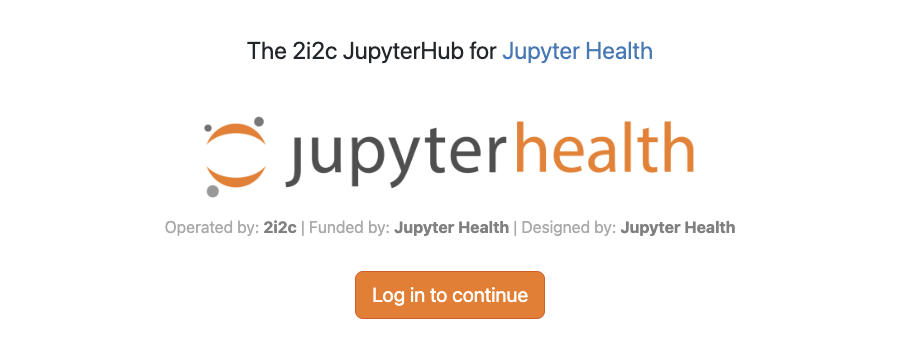
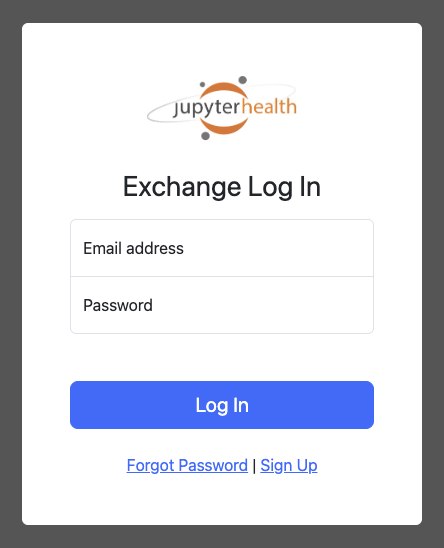
You are sent to the JupyterHealth Exchange. Enter the email address and password of your Exchange account and click Log In.
You are sent back to the Hub, which starts your server.
Access is granted by membership in a JupyterHealth Exchange organization. If you don’t have an account, sign up for the Exchange, then ask your study or organization administrator to add you to their organization.
Launch a session
After you log in, the Hub starts a JupyterLab server for you. It might take a minute or two!
User environment
The server runs the JupyterHealth environment image, which has Python, the client library, Jupyter AI, and common data science libraries pre-installed.
Packages you install with pip will not persist across sessions! If you must pip install, put %pip install ... at the top of notebooks that need extra packages.
Storage
Your home directory persists between sessions. Add and edit whatever files you like, but try to keep file size down.
Stop your session
When you’re done, choose File › Hub Control Panel › Stop My Server so your server stops using cloud resources.
If you leave your Hub session idle for long enough, it will be shut down automatically.
Get help
Problems with the Hub itself (login loops, server won’t start): use the 2i2c support process.
Questions about JupyterHealth data or the Exchange: ask in Zulip.